
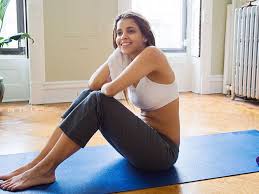
Quick Workout Before Work
The Power of a Morning Sweat Getting your body moving first thing can truly transform your entire day. It’s not about intense gym sessions. It’s about gentle nudges for your body and mind. A short burst of activity wakes up your muscles and your brain. This can help you feel more alert and ready to […]
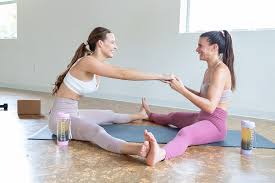
15 Minute Home Workout
This guide focuses on quick, effective 15-minute home workouts. These routines are designed to fit into any busy schedule. They help boost your energy and improve your overall fitness without needing a gym. You’ll learn simple exercises and how to make them work for you. What is a 15-Minute Home Workout? A 15-minute home workout […]
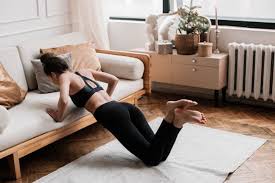
Quick Home Workout
Quick home workouts are short, efficient exercise sessions you can do in your living space. They use simple movements to build strength and stamina. These workouts are perfect for busy people who want to stay active. You can complete them in 10-30 minutes. The Power of Short Bursts Our bodies love movement. Even small amounts […]
Home Workout For Tight Spaces
Creating an effective home workout space is possible in small areas. Focus on bodyweight exercises, compact equipment, and smart storage. You can achieve fitness goals without a large gym by using creative strategies and choosing versatile tools. This approach makes consistent exercise accessible for everyone, regardless of their home size. What Makes a Home Workout […]
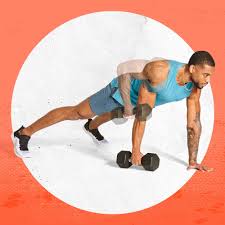
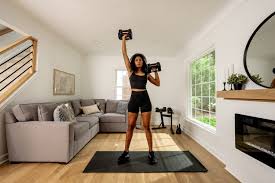
Single Dumbbell Workout
A single dumbbell workout can provide a comprehensive full-body fitness routine by engaging multiple muscle groups through compound and isolation exercises, promoting strength, balance, and cardiovascular health without needing extensive gym equipment. The Surprising Power of a Single Dumbbell You might look at a single dumbbell and think, “How much can I really do with […]
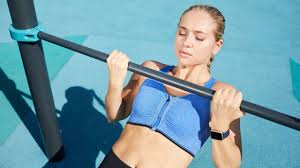
Pull Up Bar Workout
Ever look at a pull-up bar and feel a mix of awe and maybe a little dread? You’re not alone. Many of us see it as the ultimate test of upper body strength. But what if I told you that mastering the pull-up bar is totally achievable? And it’s not just about pull-ups. A simple […]
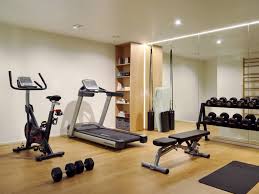
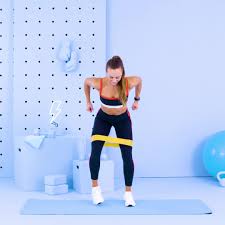
Home Gym Minimal Equipment
You can build an effective home gym with just a few pieces of minimal equipment. Focus on versatile items that allow for many different exercises. This approach saves space and money while still providing a full-body workout experience. The key is choosing the right, multi-purpose tools. What is Minimal Equipment for a Home Gym? A […]
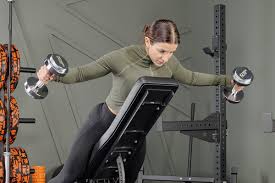
Adjustable Dumbbell Workout
Adjustable dumbbells offer a versatile and space-saving way to build strength at home. They allow for a wide range of exercises targeting all major muscle groups. Proper form and a balanced workout plan are key to maximizing their benefits for overall fitness. The Power of Adjustable Dumbbells Adjustable dumbbells are special weights. They let you […]
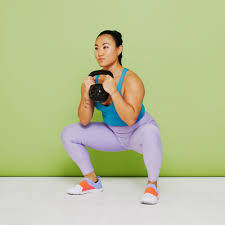
Kettlebell Workout At Home
Kettlebell workouts at home are highly effective for building strength, improving cardio, and boosting overall fitness. They require minimal space and just one piece of equipment. You can perform a wide variety of exercises that target multiple muscle groups simultaneously, leading to efficient and comprehensive training sessions. Understanding Kettlebells and Home Workouts So, what exactly […]
Dumbbell Only Workout Plan
You can achieve significant strength and muscle gains with a well-designed workout plan using only dumbbells. This approach offers flexibility, affordability, and effectiveness for home-based fitness routines, targeting all major muscle groups for a balanced physique. The Power of Dumbbells Dumbbells are more than just weights. They are versatile tools. They let you train almost […]